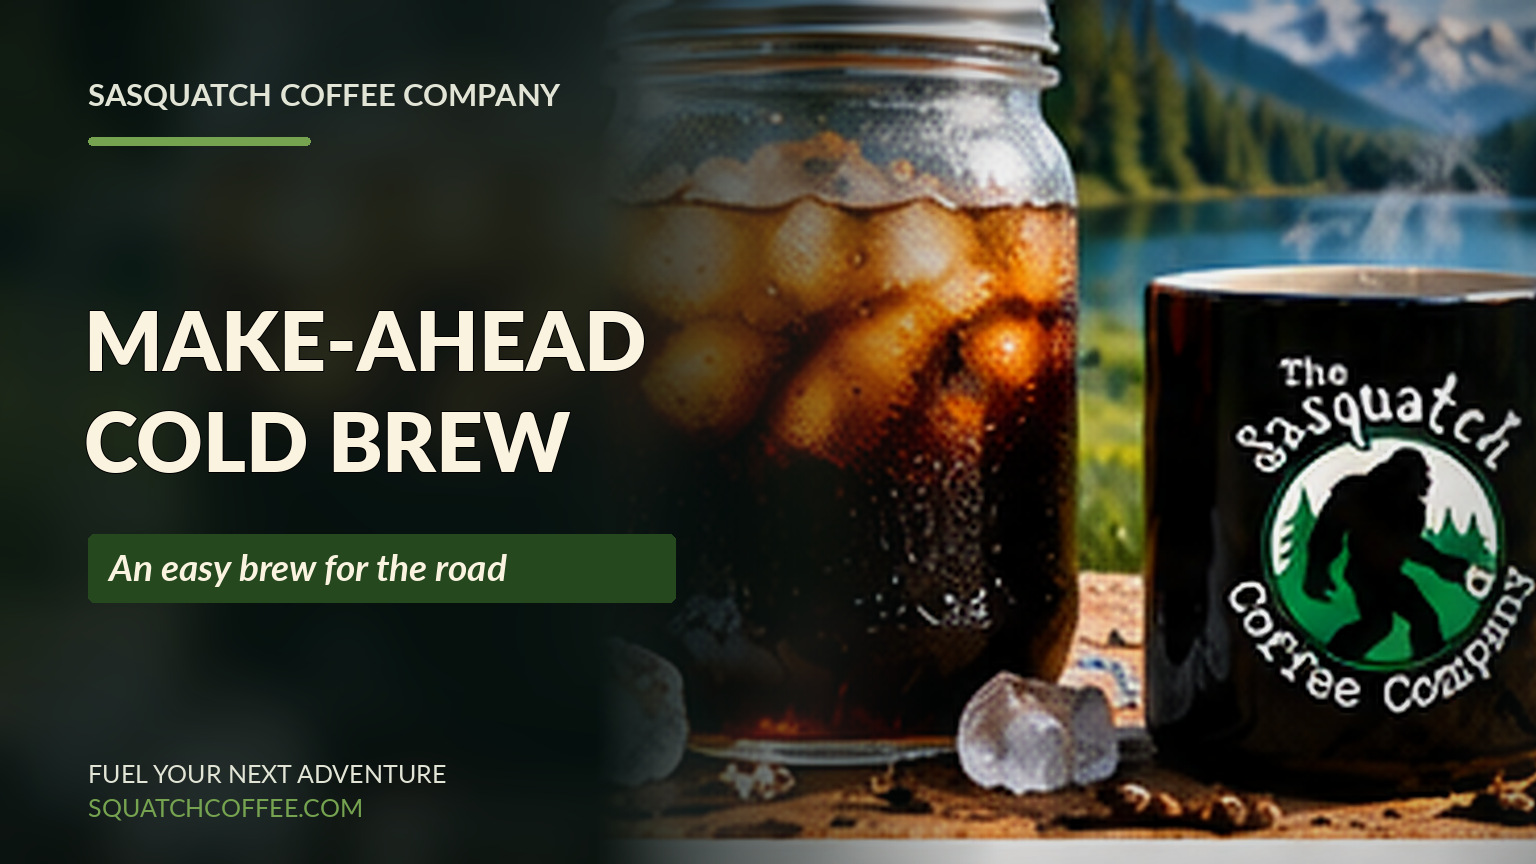
Not every outdoor coffee needs a camp stove. On warm mornings, at crowded trailheads or during long road trips, make-ahead cold brew means your coffee is ready when you are. Prep it at home, chill it, pack it in a clean bottle and pour it over ice when the day begins.
Cold brew is made by steeping ground coffee in cool water for hours, then filtering the grounds. Unlike iced coffee, which is usually brewed hot and chilled, cold brew develops its character without hot-water brewing.
Easy make-ahead cold brew recipe
Yield: Approximately two large servings, depending on filtering losses and how you dilute it. This is a ready-to-drink starting recipe, not a highly concentrated syrup.
- 60 grams coarsely ground coffee
- 600 grams (about 600 mL) cold drinking water
- A covered clean jar or cold-brew container
- A fine strainer plus a coffee filter, if needed
- A clean sealable bottle for travel
- Add the coffee and water to the jar; stir gently to wet all the grounds.
- Cover and refrigerate for roughly 12–16 hours. Try a shorter time for a lighter extraction, longer for a fuller brew.
- Strain thoroughly, using a second paper filter if you want less sediment.
- Taste. Add water or ice if the coffee is stronger than you like.
- Transfer to a clean bottle and keep it cold until you’re ready to drink.
For a stronger concentrate, use more grounds for the same amount of water and dilute at serving time. Always test the recipe at home before relying on it for a long trip.
How to pack cold brew for the road
Use a clean leakproof bottle that fits upright in your cooler. Transport it with ice packs and keep it chilled. Do not leave a bottle in a hot vehicle for hours, especially if you’ve added milk, cream or sweetened dairy ingredients. Add milk or creamer only when serving and keep perishables safely refrigerated.
For a single-day outing, divide the brew into individual bottles so you’re not repeatedly opening the entire supply. For longer trips, plan to brew or replenish it using a reliably refrigerated setup rather than depending on an unrefrigerated batch.
Make cold brew taste great without extra sugar
The easiest way to change flavor is to change the beans. A medium-dark roast gives a fuller chocolate-leaning direction; a lighter roast may emphasize brighter flavors. Keep the grind coarse and the recipe constant while testing coffees.
Try Feelin’ Squatchy medium-dark roast for a rich cup. For a more delicate direction, experiment with Eye Shine light roast.
Three easy ways to serve cold brew outdoors
- Trailhead coffee: Pour straight into an insulated tumbler before setting out.
- Camp breakfast: Add ice and a splash of milk, if your cooler can keep it safe.
- Road-trip refill: Bring a separate chilled bottle and top up at your next stop rather than buying another drink.
Cold brew camping FAQ
Can I make cold brew at the campsite?
Yes, provided you have clean water, a sanitary container and a way to keep it chilled during brewing and storage. Making it at home is simpler for most trips.
How long should the coffee steep?
Begin with 12–16 hours in the refrigerator, then adjust based on flavor and grind.
Is cold brew the same as iced coffee?
No. Iced coffee is commonly brewed hot before chilling. Cold brew is extracted with cool water over a longer time.
Plan your morning around adventure, not equipment. Choose your favorite Sasquatch Coffee roast, make a batch ahead and hit the road.